Hello everyone,
I've emerged from my black hole of Olympics binge-watching to find Seattle cold, but kissed by the promise of a fast approaching spring and a golden summer. While we wait for Spring to arrive, however, we must still contend with the final rainy months of Seattle's Winter and early Spring, which often means finding indoor public spaces where one can shoot.
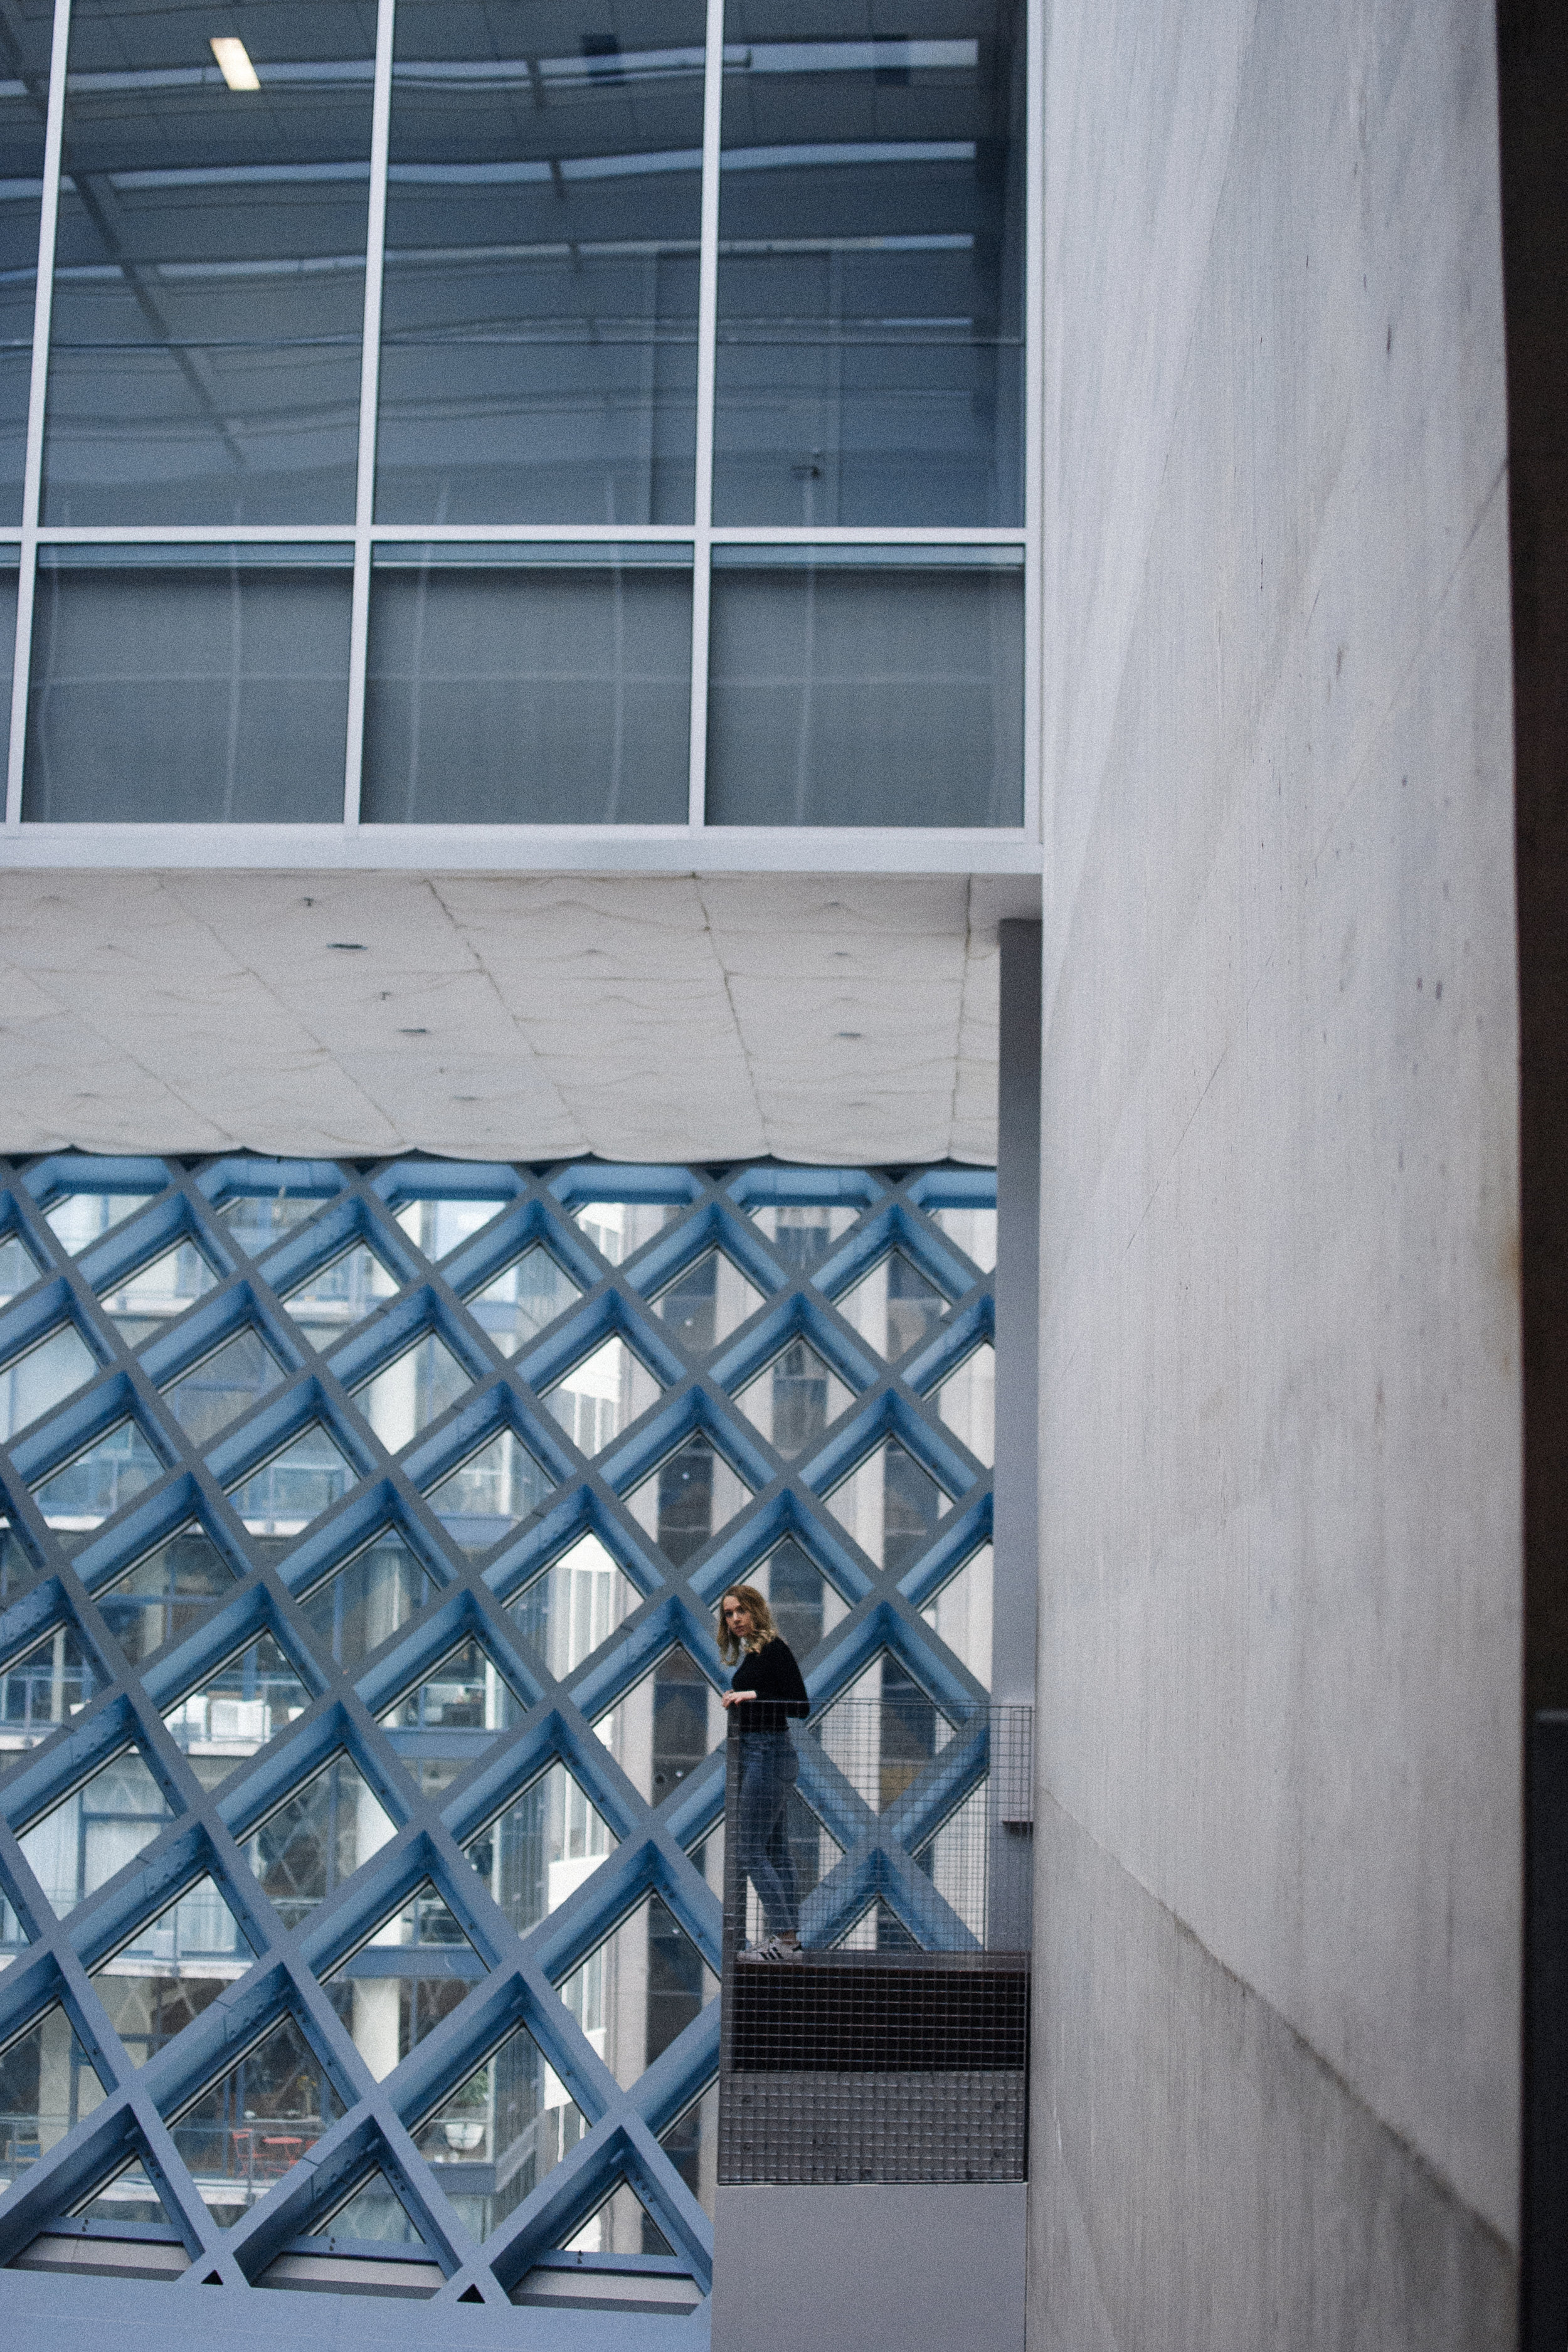
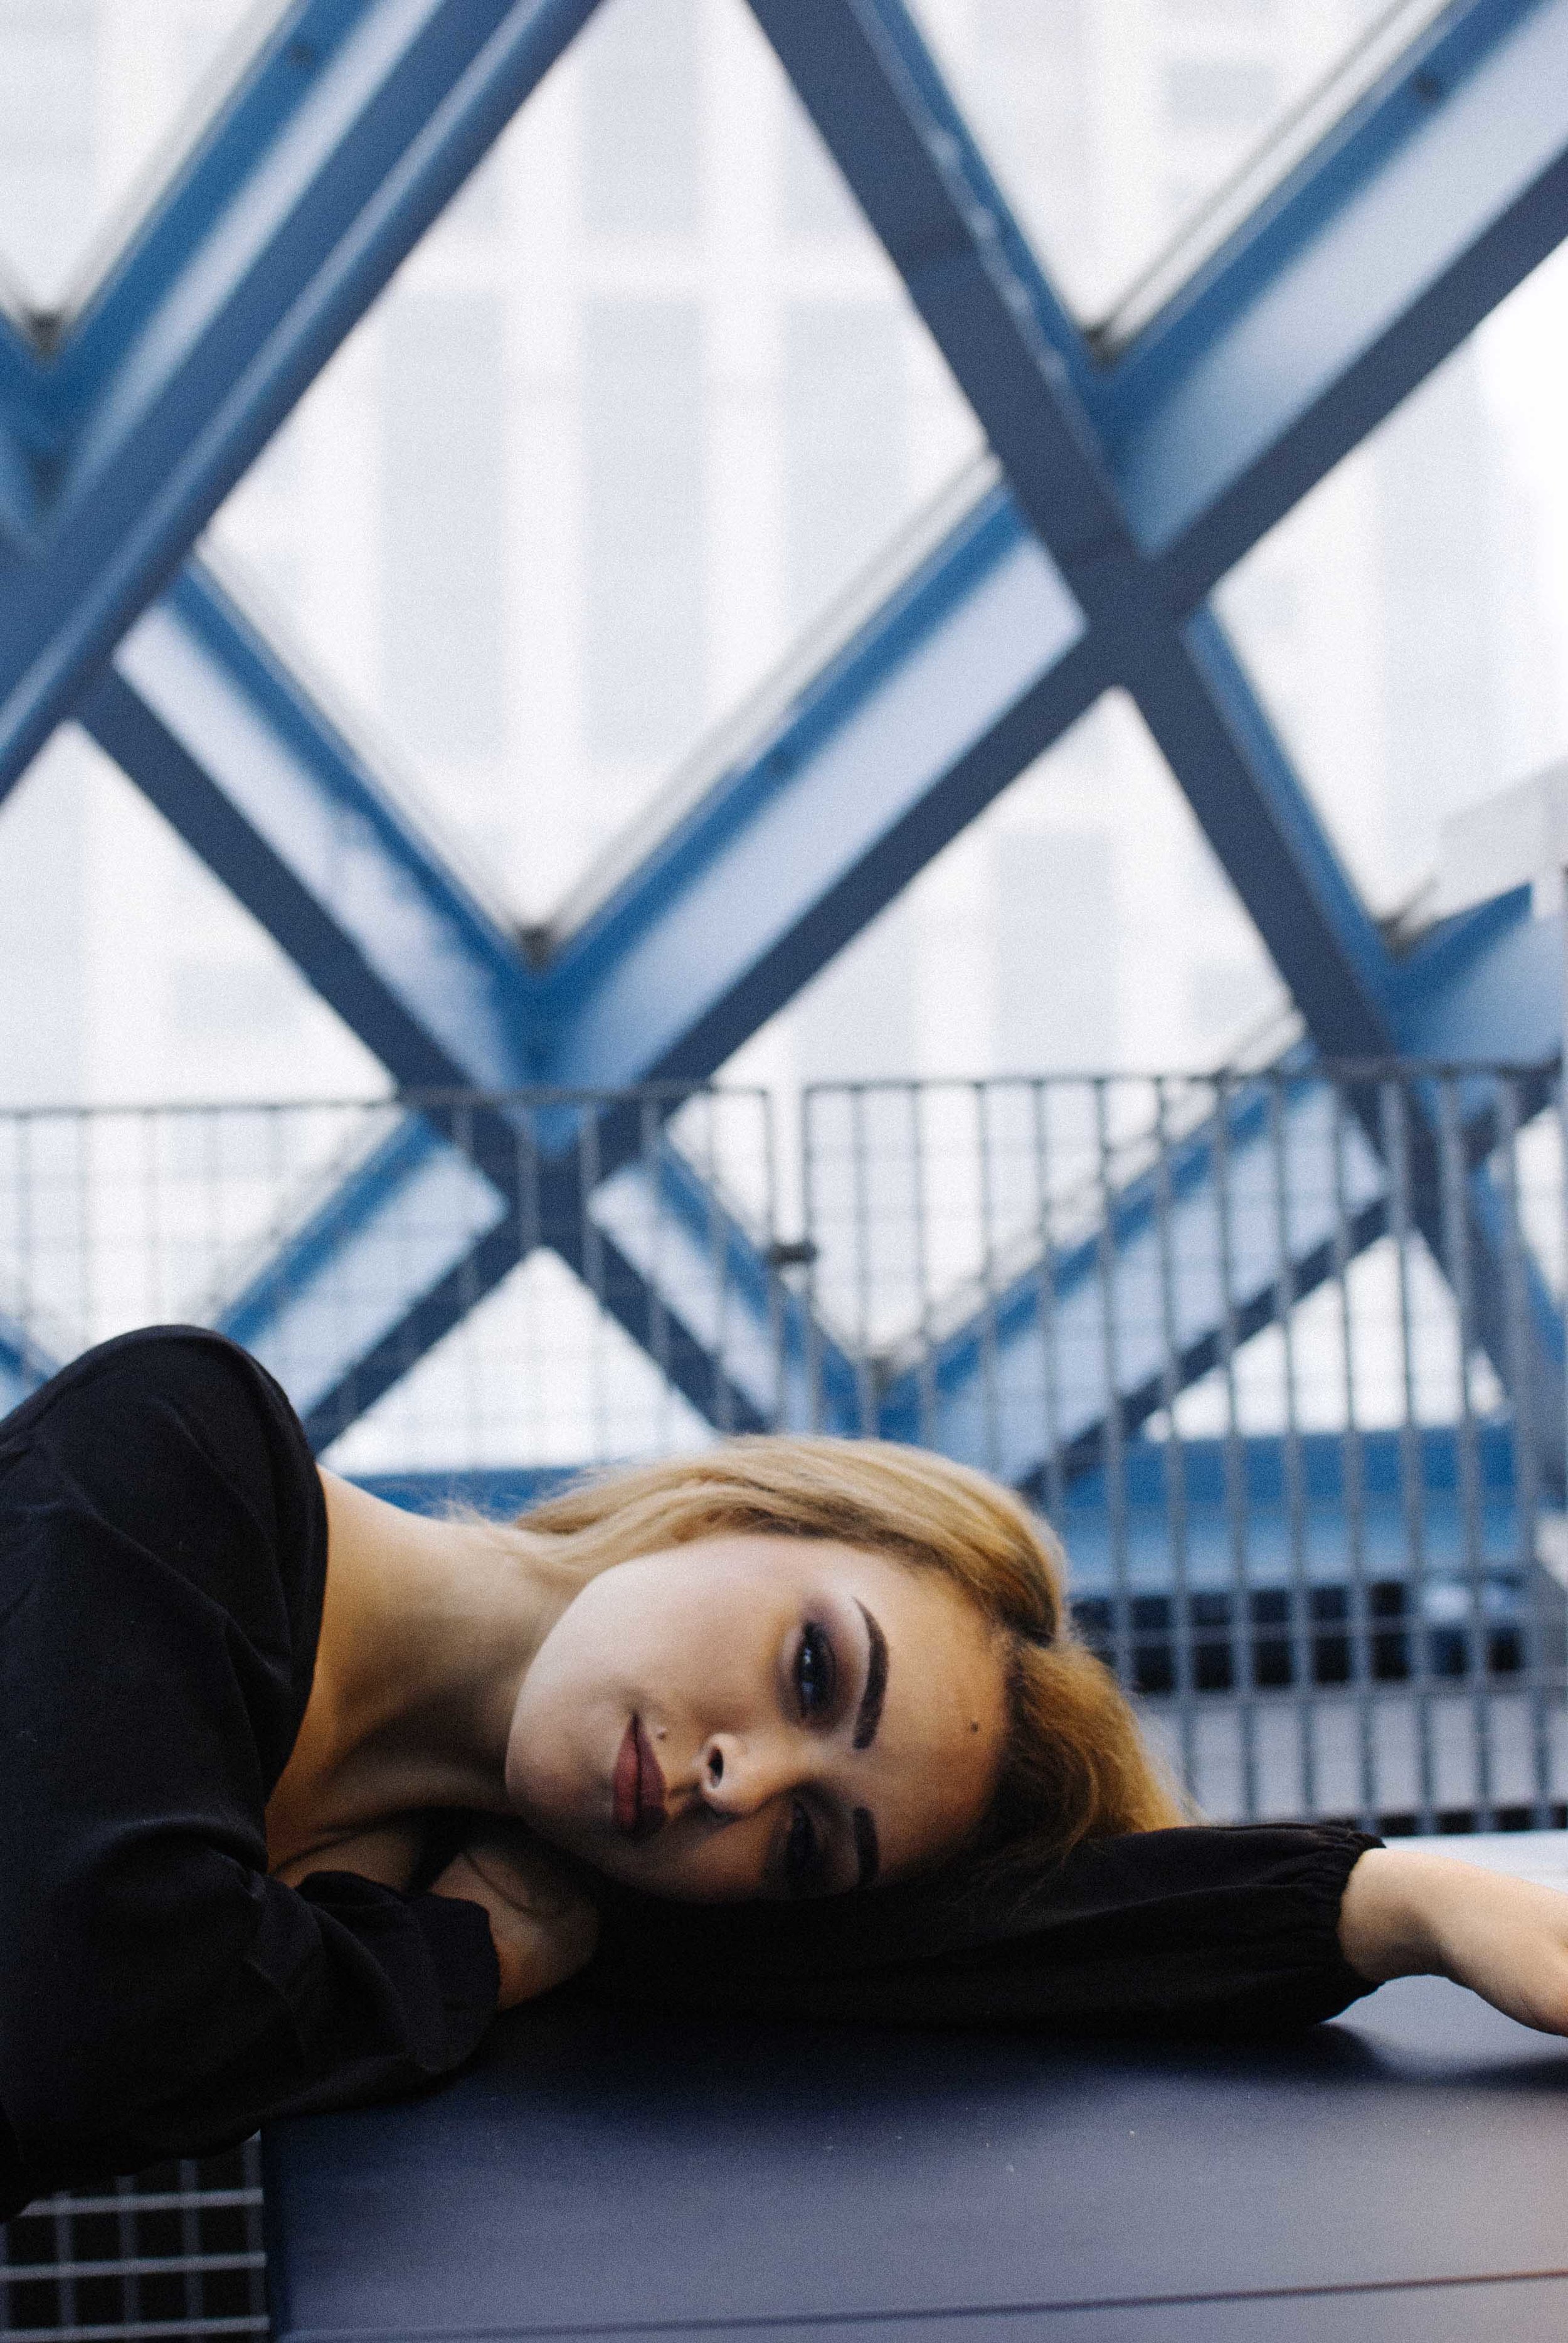
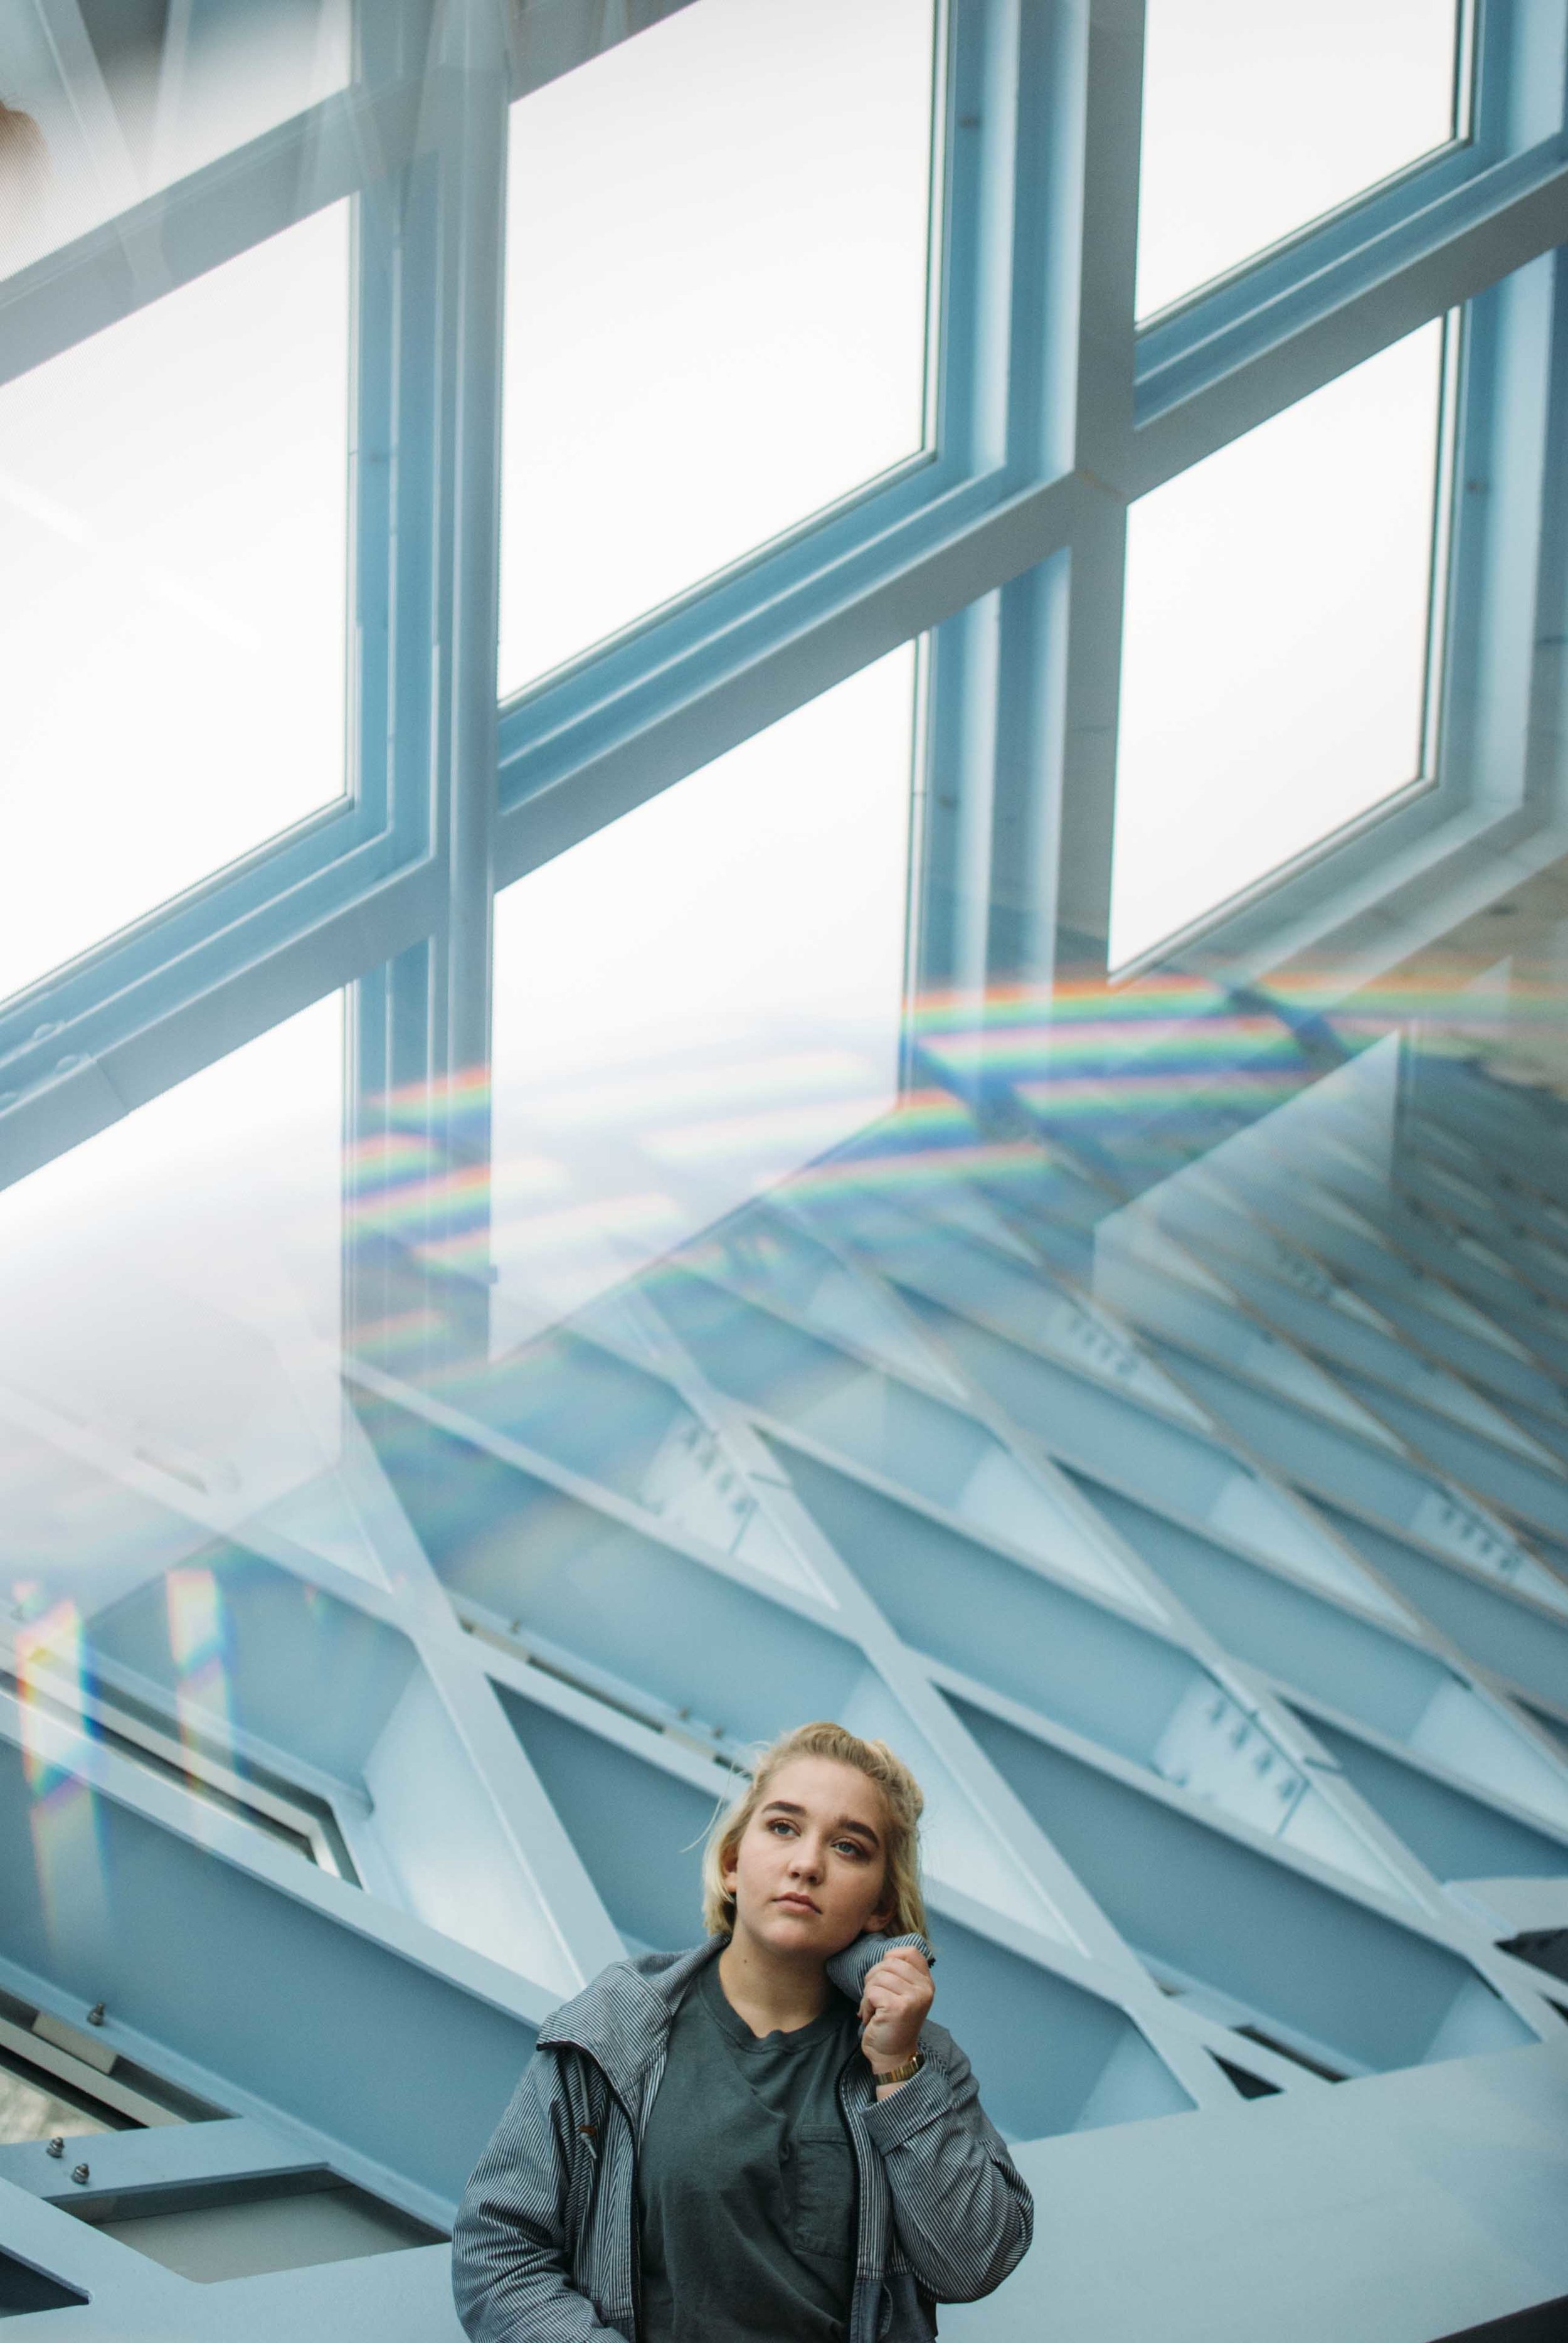
This leads me to the Seattle Public Library's Central Branch. Planned and approved in the 90's, the construction of the Central Library began in the fall of 2001 and opened in 2004 ("History of the Central Library"). With floor to ceiling windows, expansive open spaces, and beautiful lines, the Central Branch can be a dream to shoot in. However, since it IS a popular public space for studying, reading, and community events, it is important to balance your desire to get the perfect shot with respecting other's use of the space. So here's six quick tips for shooting in the Central Branch without getting side-eyes from the other patrons!
Tip 1: Review the Library's Photography and Filming policy!
Many public spaces, such as libraries and museums, allow photography, and they often have official policies that outline what a photographer can or can't do in the space. It's generally a good idea to look up these policies beforehand (esp. if you are shooting for a client), so that you don't end up planning a shoot and then being unable to shoot in the space due to restrictions in their policy. If you do forget, or wander into the space to do an impromptu shoot, stop by the information/reference/circulation desk(s) and ask about the policy. Most staff members will be able to fill you in on where you can and can't shoot, and what type of photography equipment is allowed (ex: flash photography is often forbidden).
The Seattle Public Library has an official Photography & Filming Policy, which can be found on their website. I've also pulled the most relevant portion for photographers, which states that:
"Visitors may take casual photographs or videotape in the building as remembrances of their visit. Only handheld cameras are allowed. The use of additional equipment - such as tripods or lighting - are not permitted because of safety, liability and other issues. Library staff may stop any photography or videotaping that appear to interfere with the Library's ability to conduct business, or that compromise public safety or security."
Tip 2: Take Advantage of the Natural Light
Not all levels of the library have great access to natural light, but the Living Room (3rd floor) and the Reading Room (10th floor) have natural light in spades. While the lighting throughout the Central Library varies constantly with the weather, it's always stunning on these two floors, so make sure to set aside some daylight to shoot here. The highest point open to the public is on the 10th floor, and provides a plethora of well lit shooting possibilities as well as a vertigo inducing glimpse 7 floors down to the Living Room.
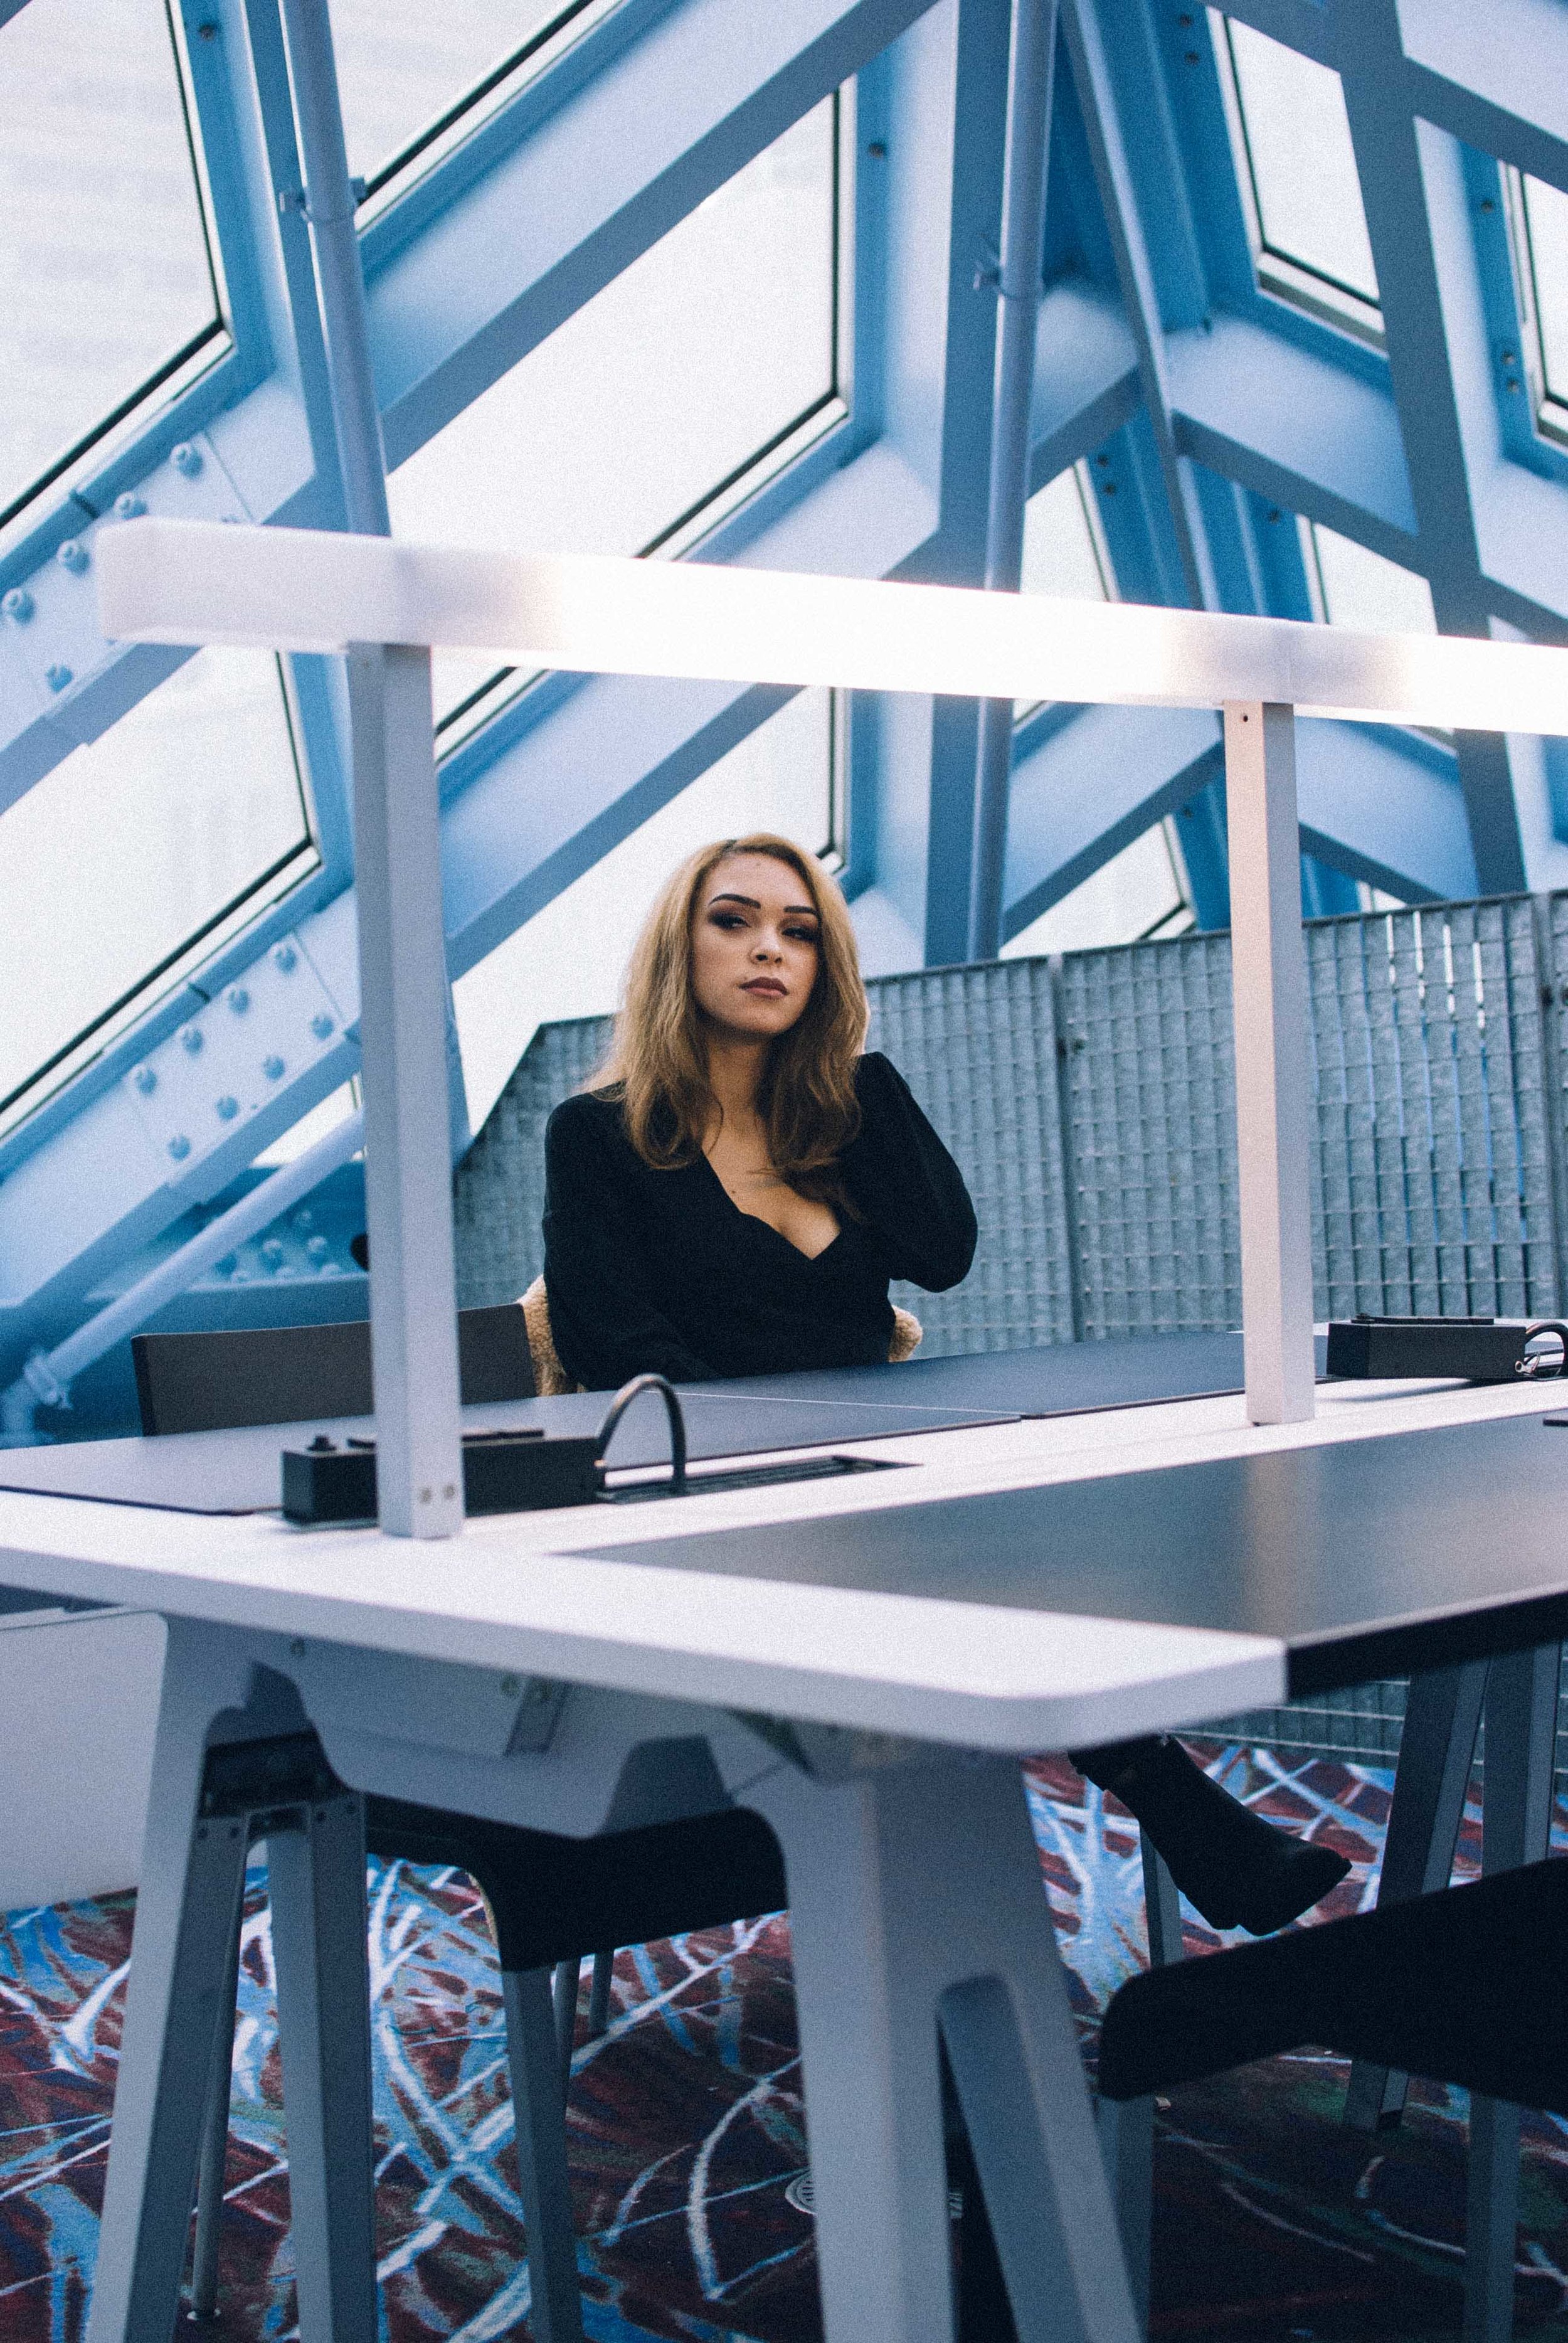
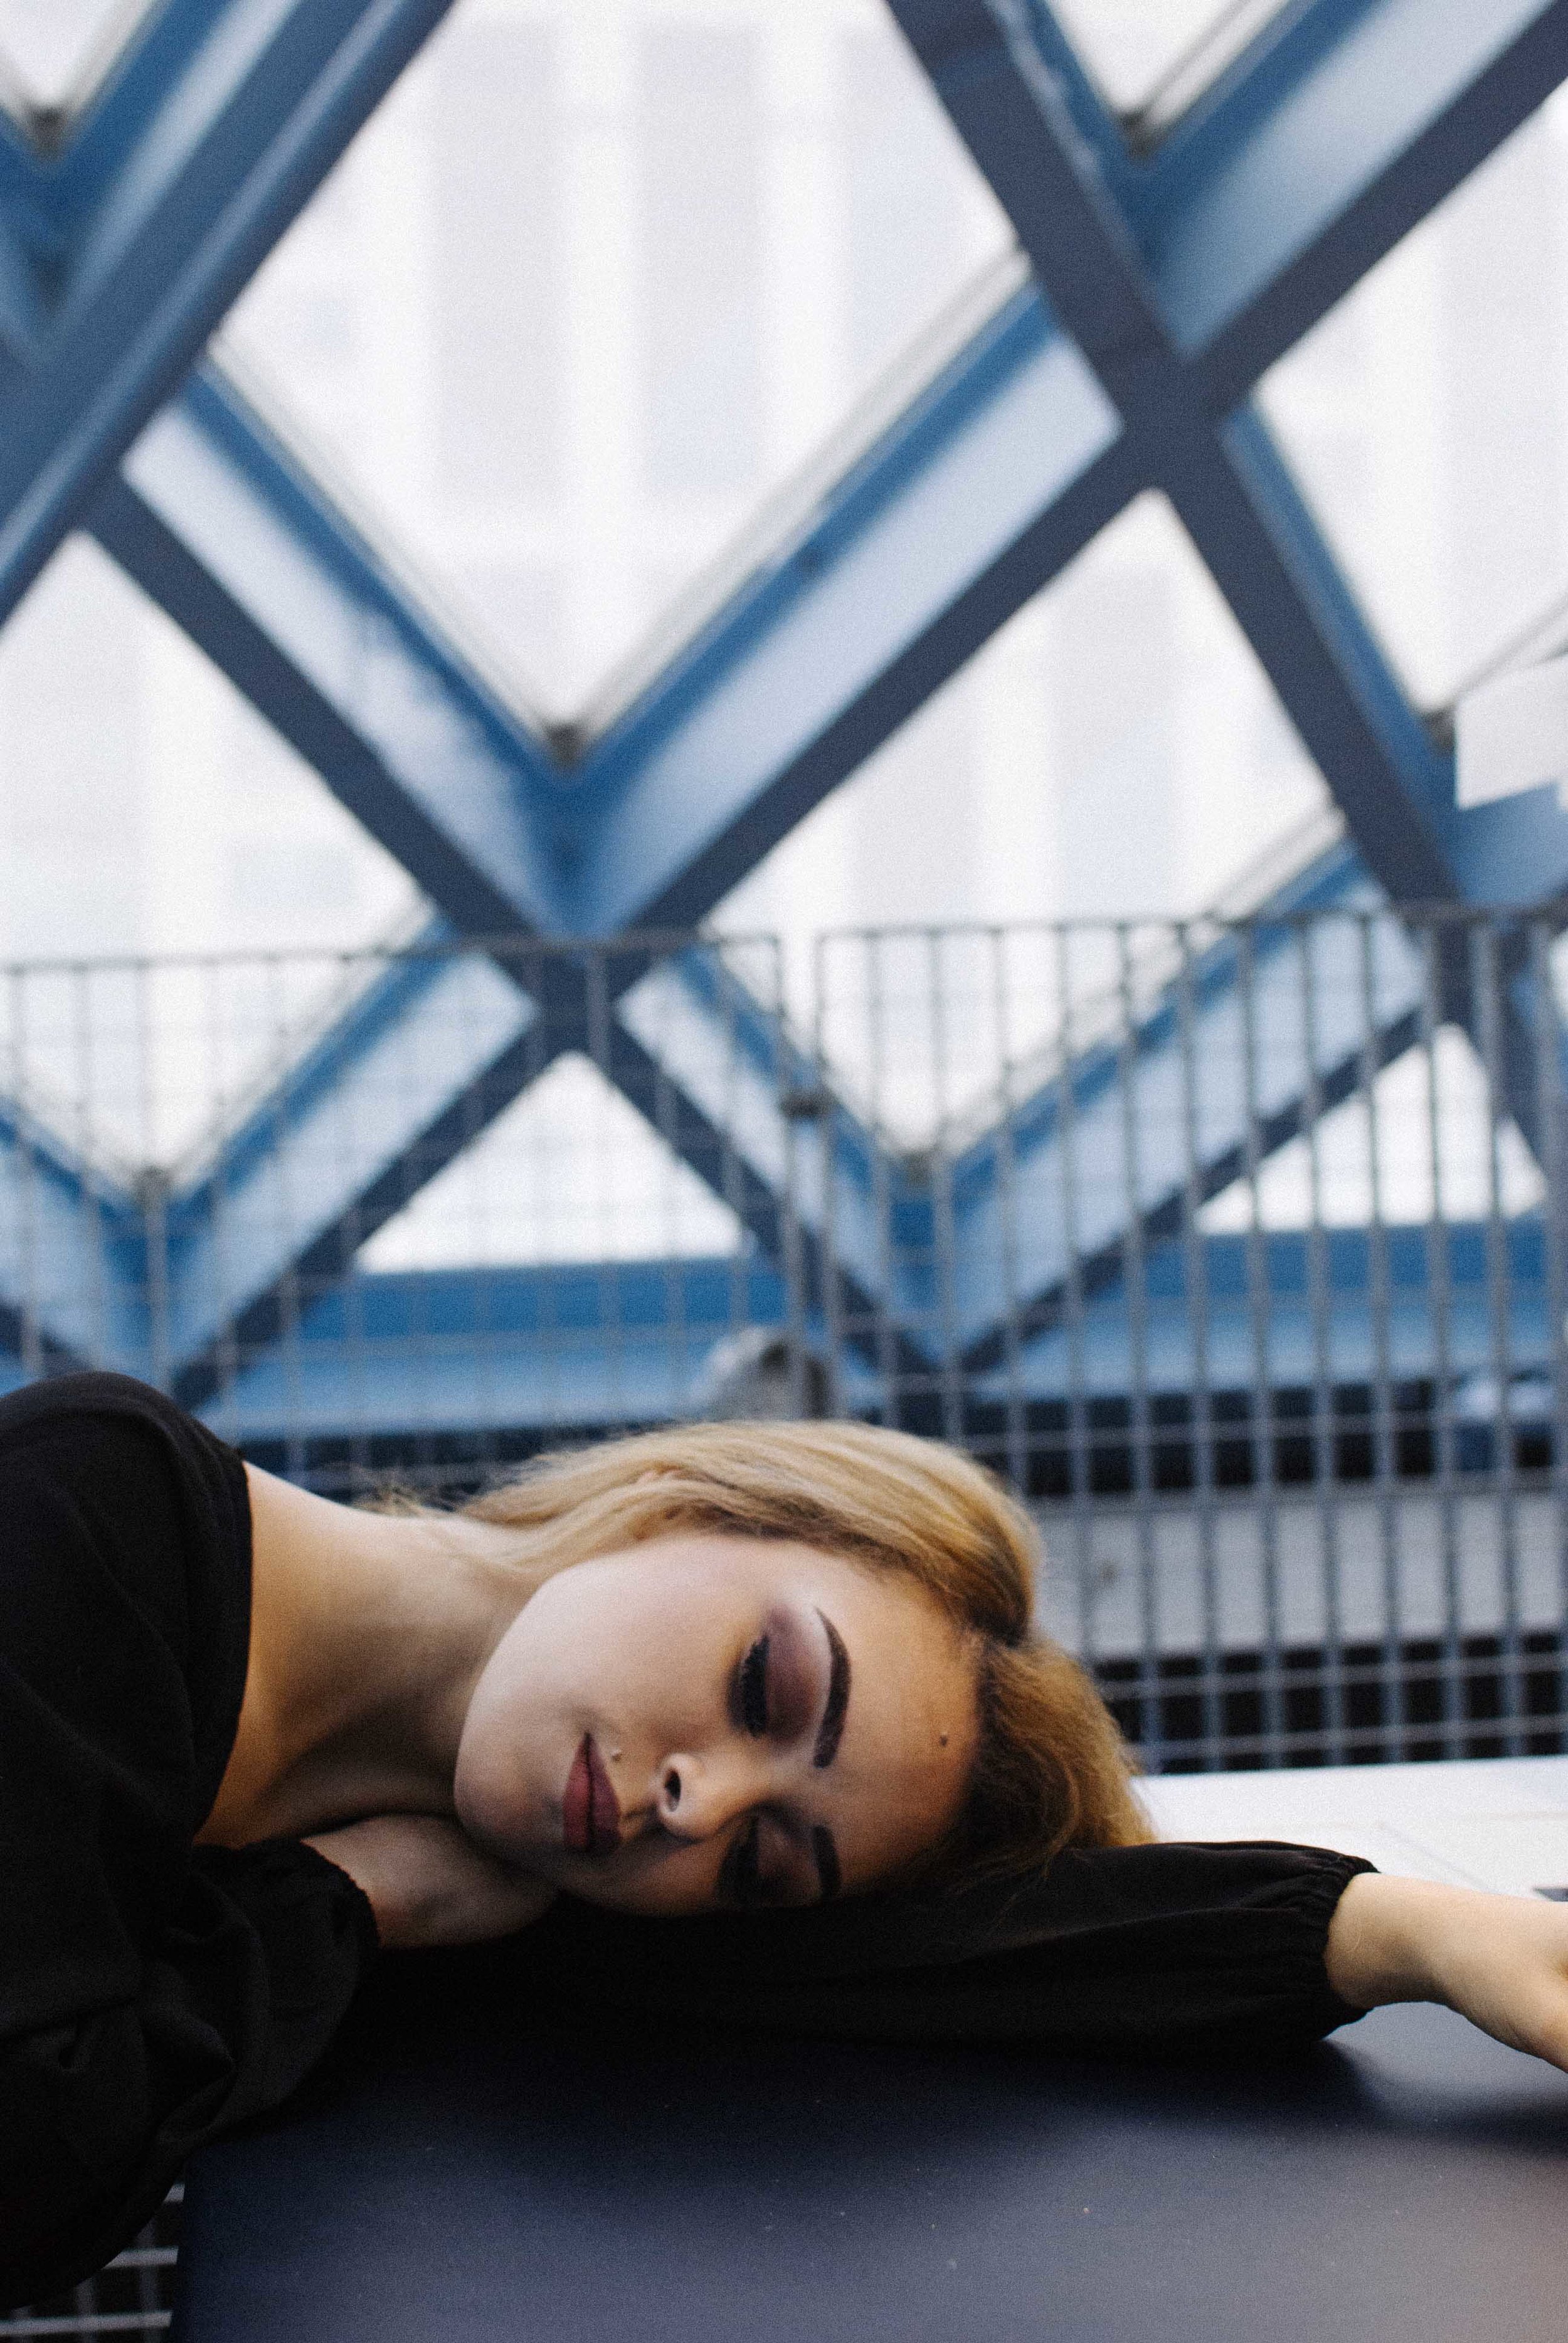
The Reading Room also has tables with strong but relatively neutral artificial lights, so don't be afraid to grab and empty table and play around with a mixture of natural and artificial light.
Tip 3: Know when you are in a Quiet Area or not (and act accordingly)
Speaking of the Reading Room....
The Central Branch of the Seattle Public Library is a gorgeous and highly used community space, so it's important to know where the dedicated quiet zones are within the library. This information is not readily available online (somewhat surprisingly), and is not outlined in the Photography Policy discussed above. However, I've been told by employees that only the tenth and top floor (The Reading Room) is a designated silent area. This floor, somewhat unfortunately, is also incredibly popular with photographers, tourists, and readers alike due to it's stunning vistas, spacious design, and copious natural light. In order to avoid being asked to move to the lower levels, make sure to keep your voices down and be respectful of the space of those around you. This may mean that you and your model may have to communicate non-verbally or in hushed tones while you are shooting, but being able to shoot in the space is worth it!
Tip 4: Explore every floor
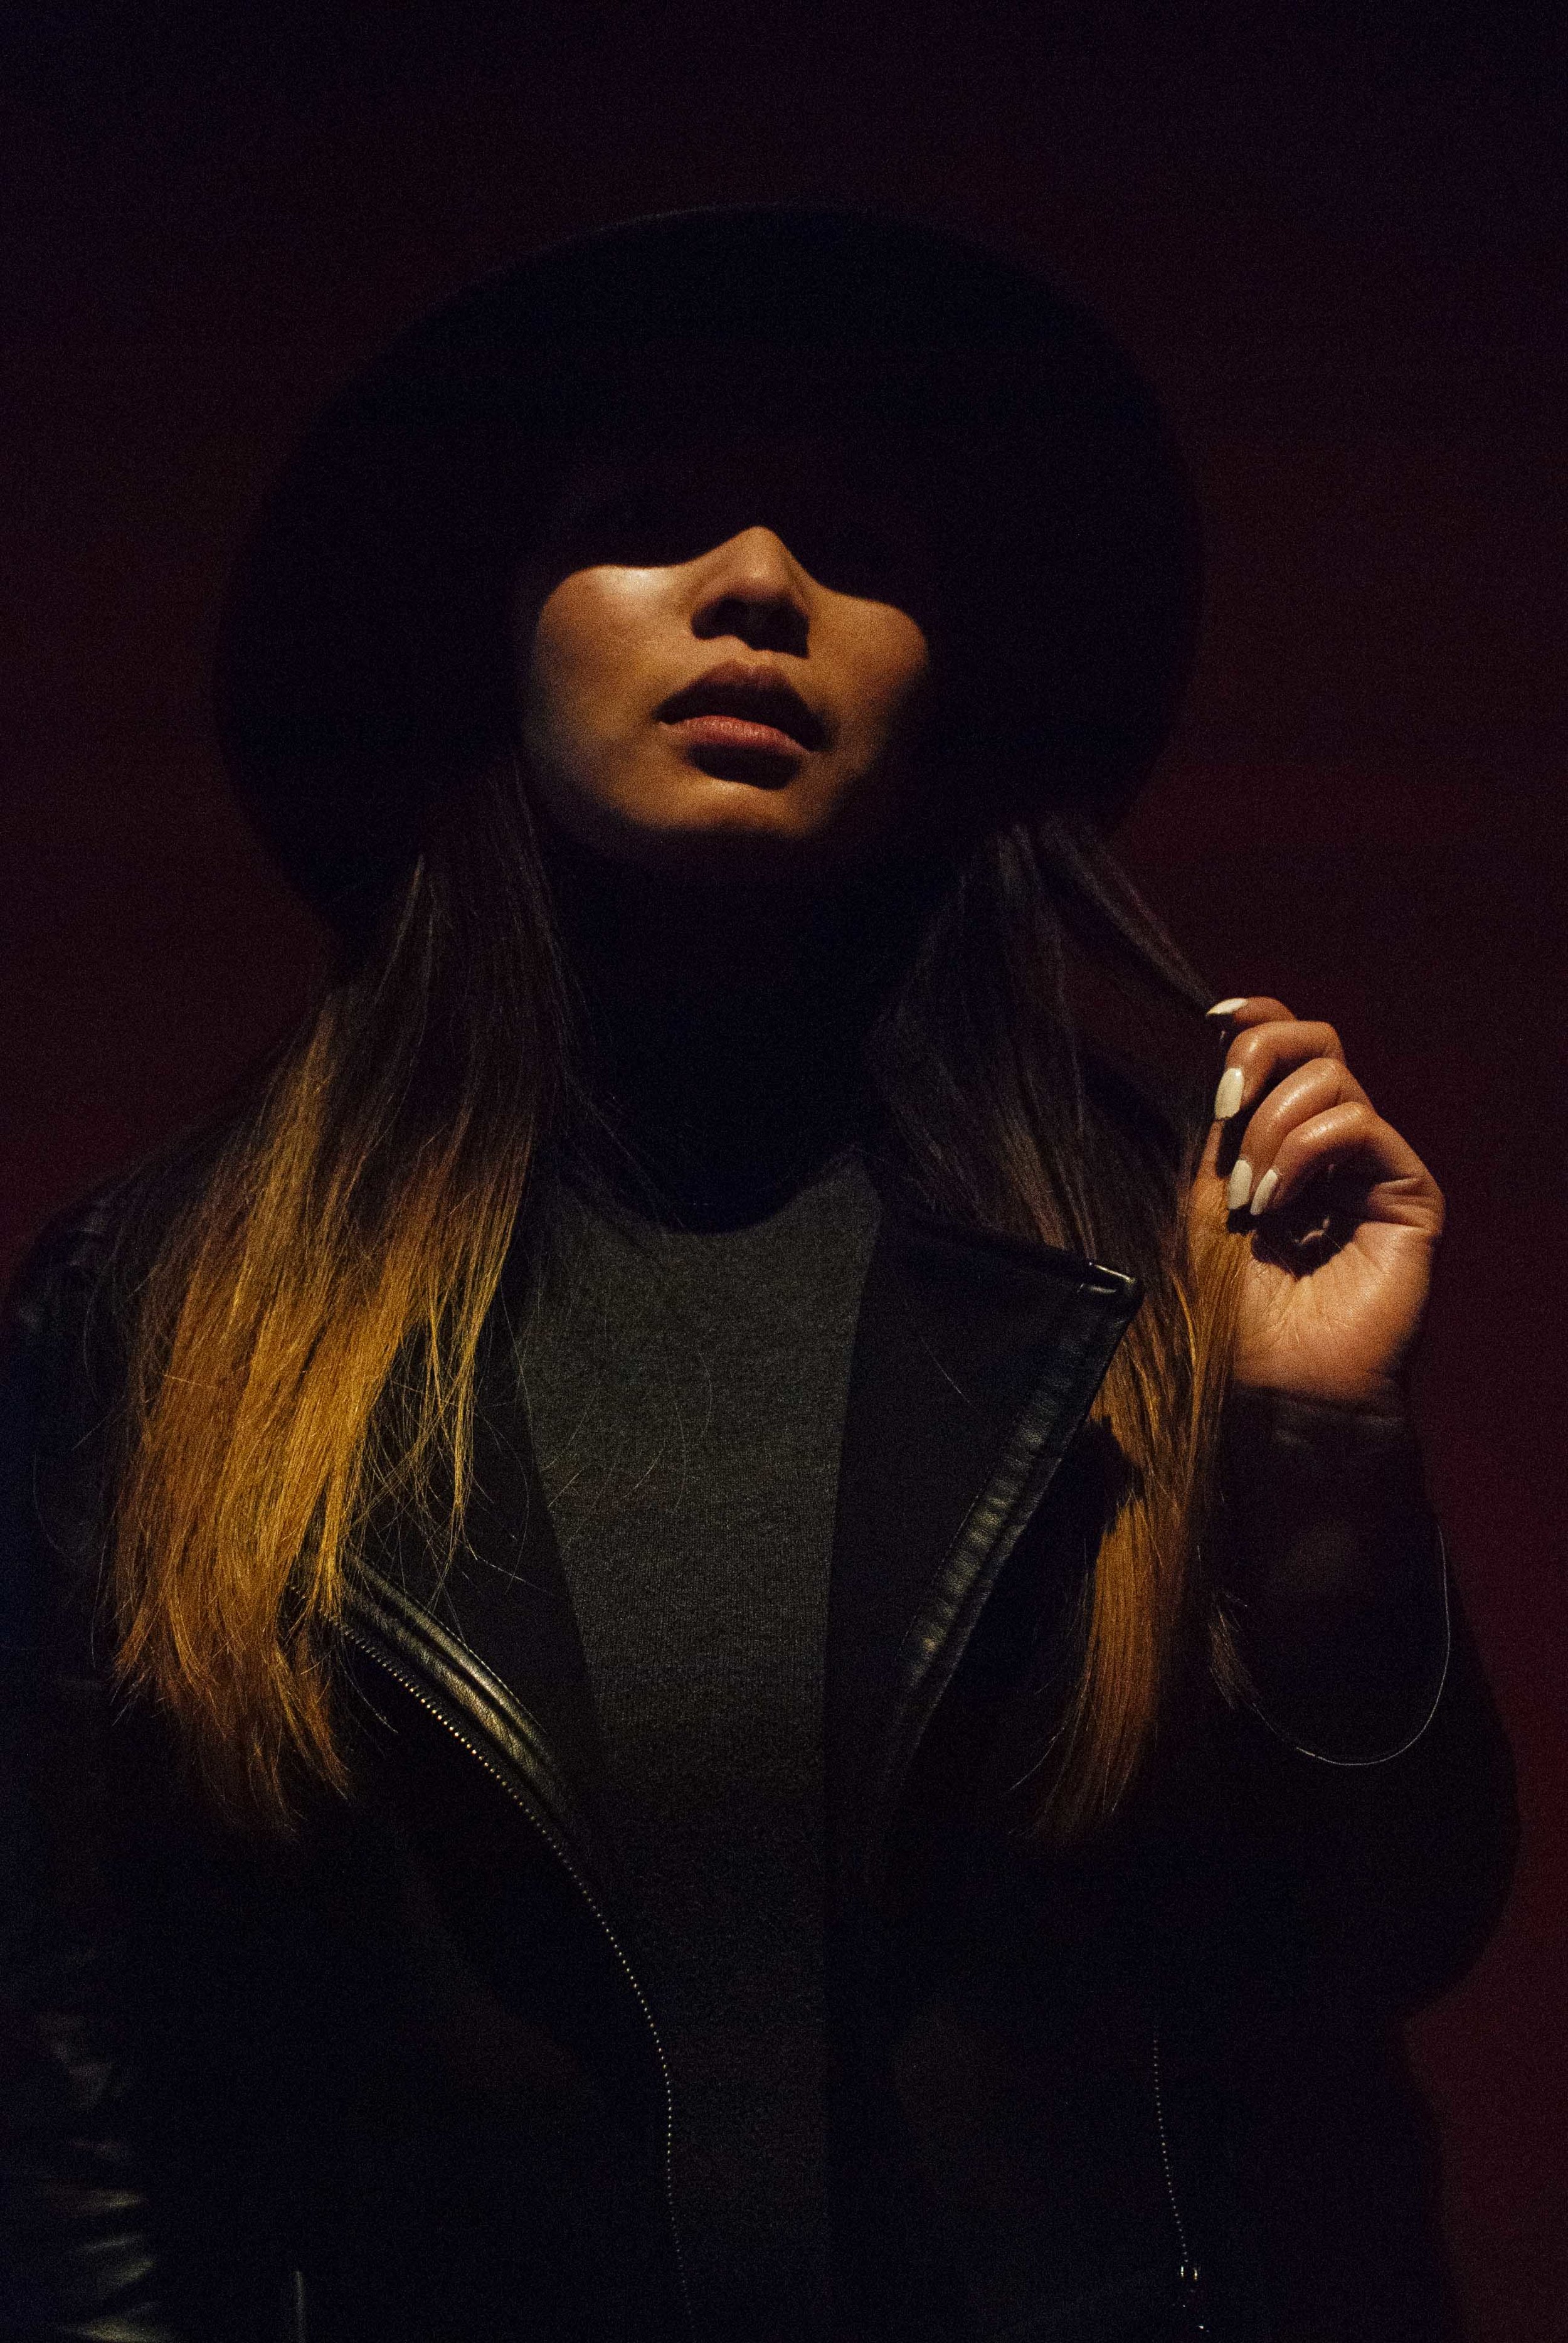
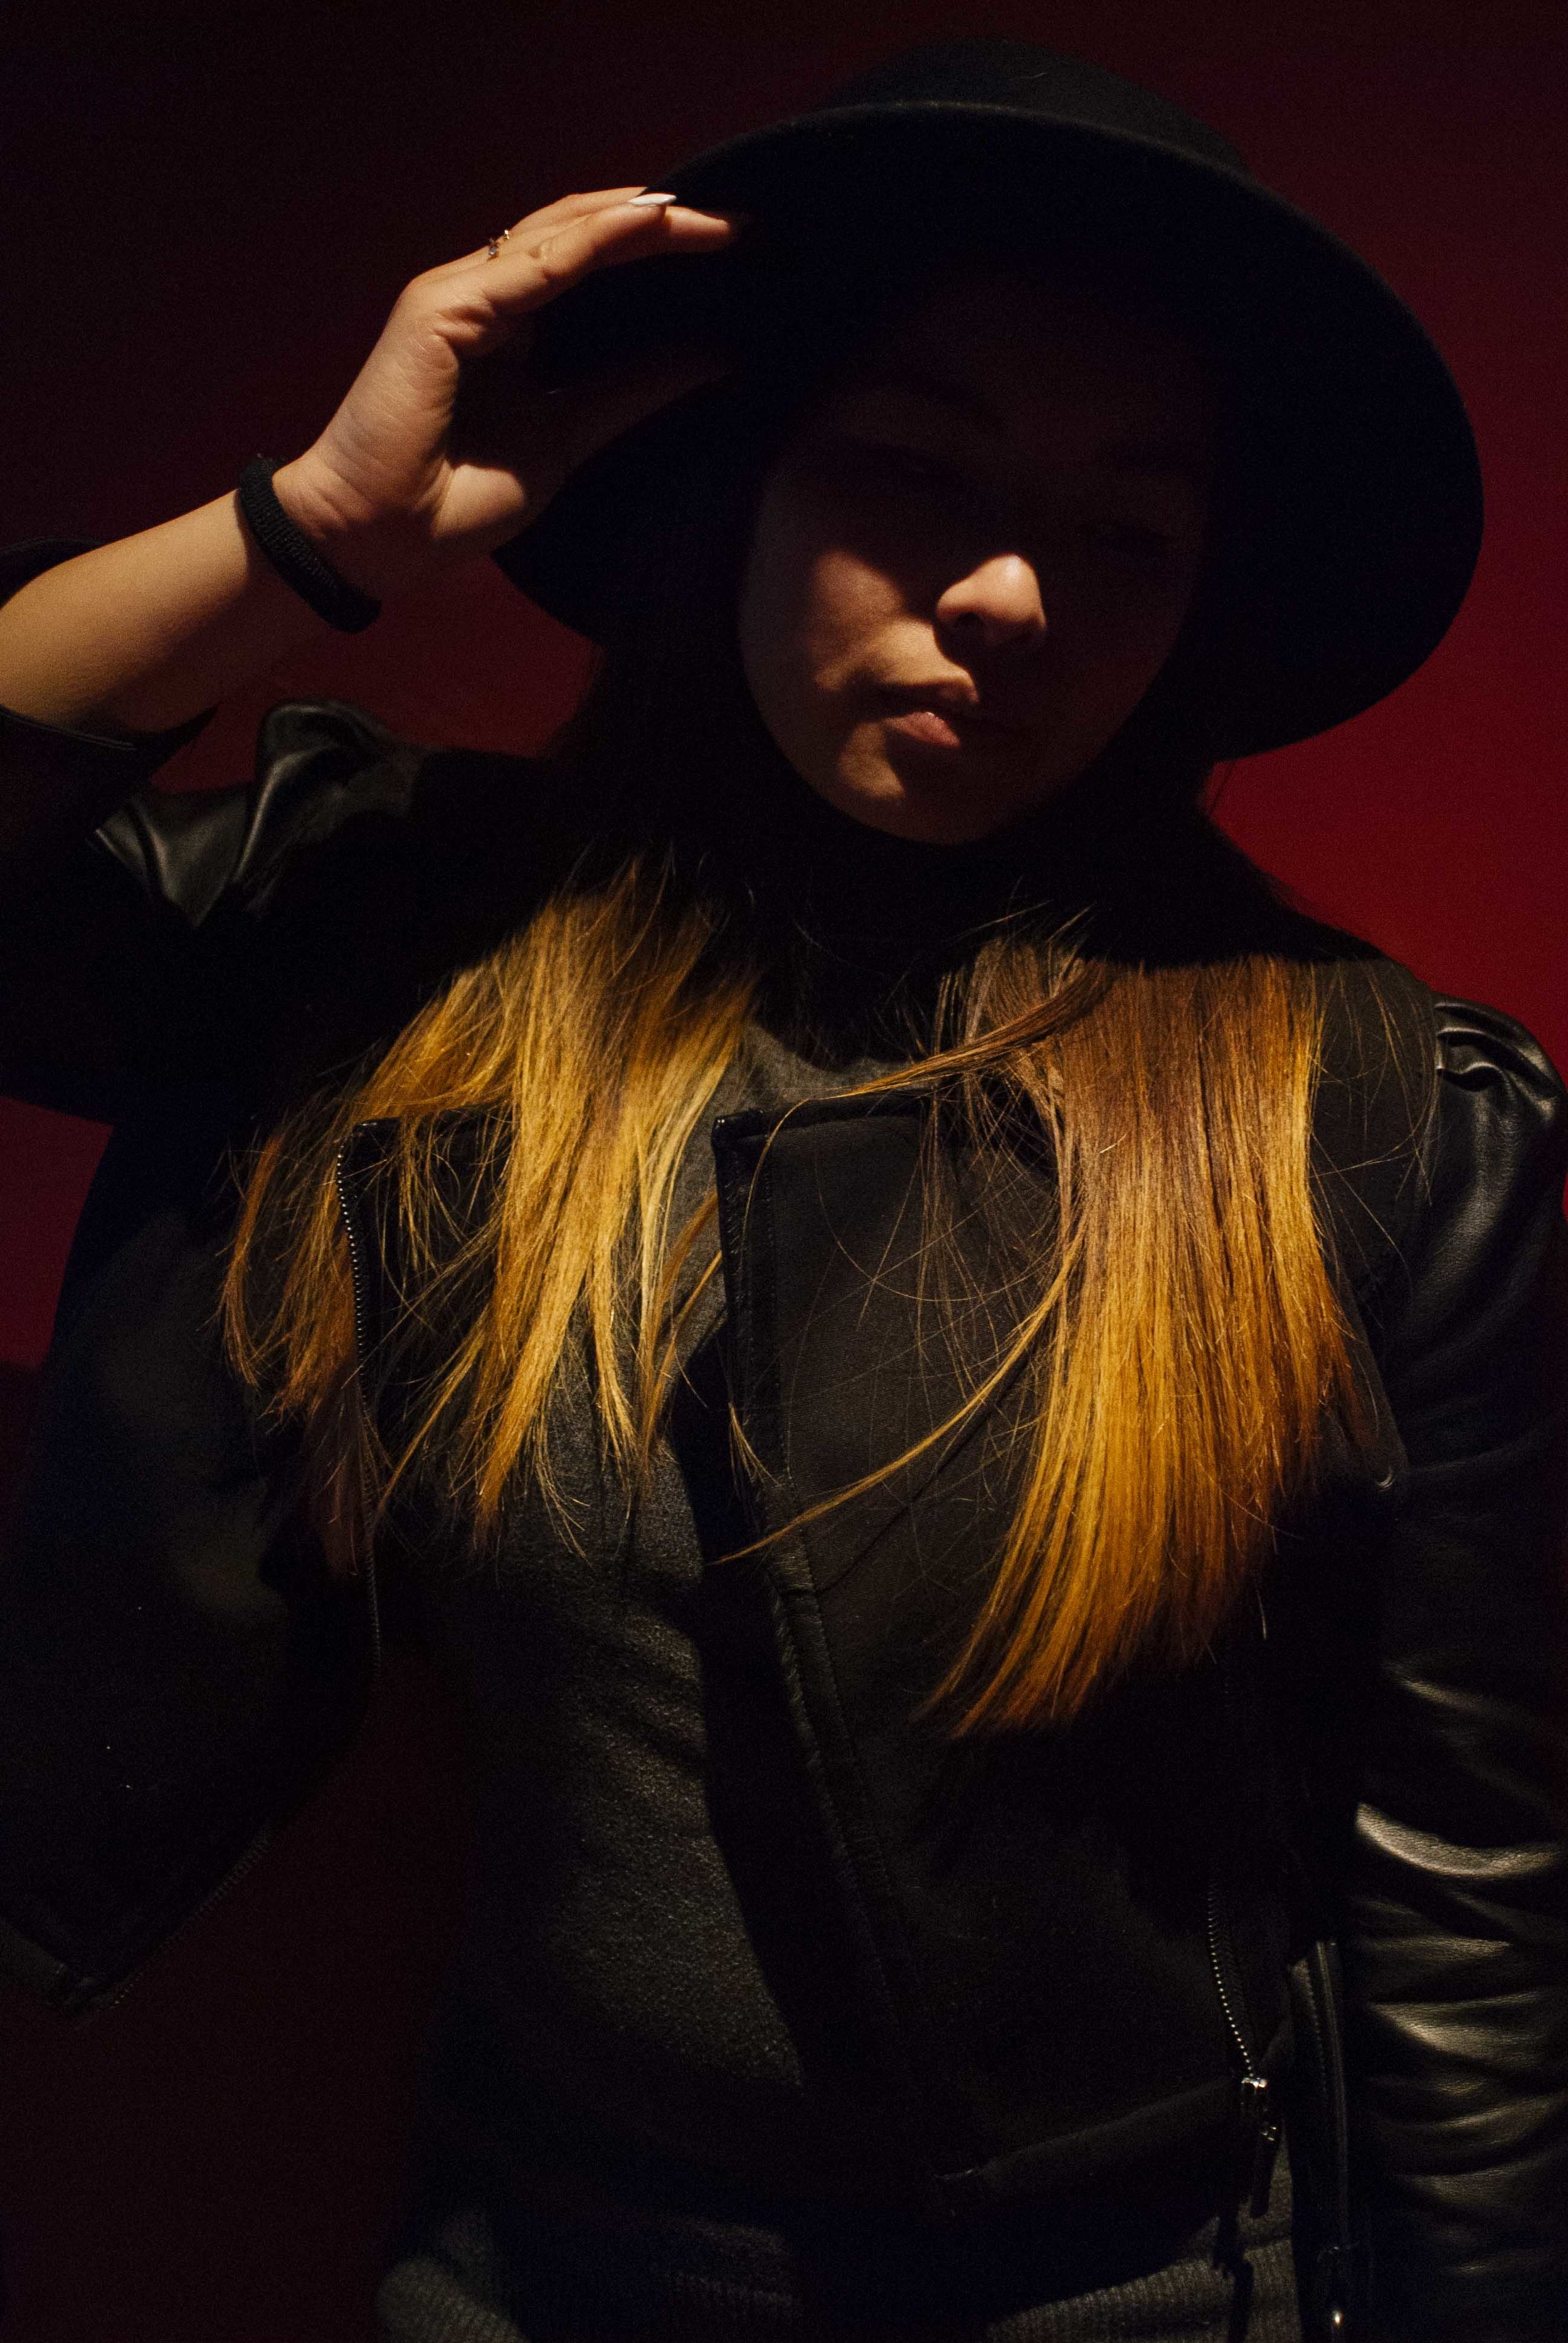
While the Living Room (3rd floor) and the Reading Room (10th) are understandably some of the more famous spots to shoot in the library, each floor has something unique photographically to offer. If you have time, make sure that you wander through each floor. The 4th Floor, for example, is painted blood read and has a huge window overlooking the Living Room. This means that the floor provides a unique shooting situation to explore and play with.
Tip 5: "Leave it Better than you Found it"
The "leave it better than you found it" mentality has been deeply ingrained in me since childhood, and I recommend that you apply this same ethos to taking photos in public spaces. No, you don't have to necessarily pick up trash left behind by others, but pick up after yourself and do your best to limit your negative impact on the space.
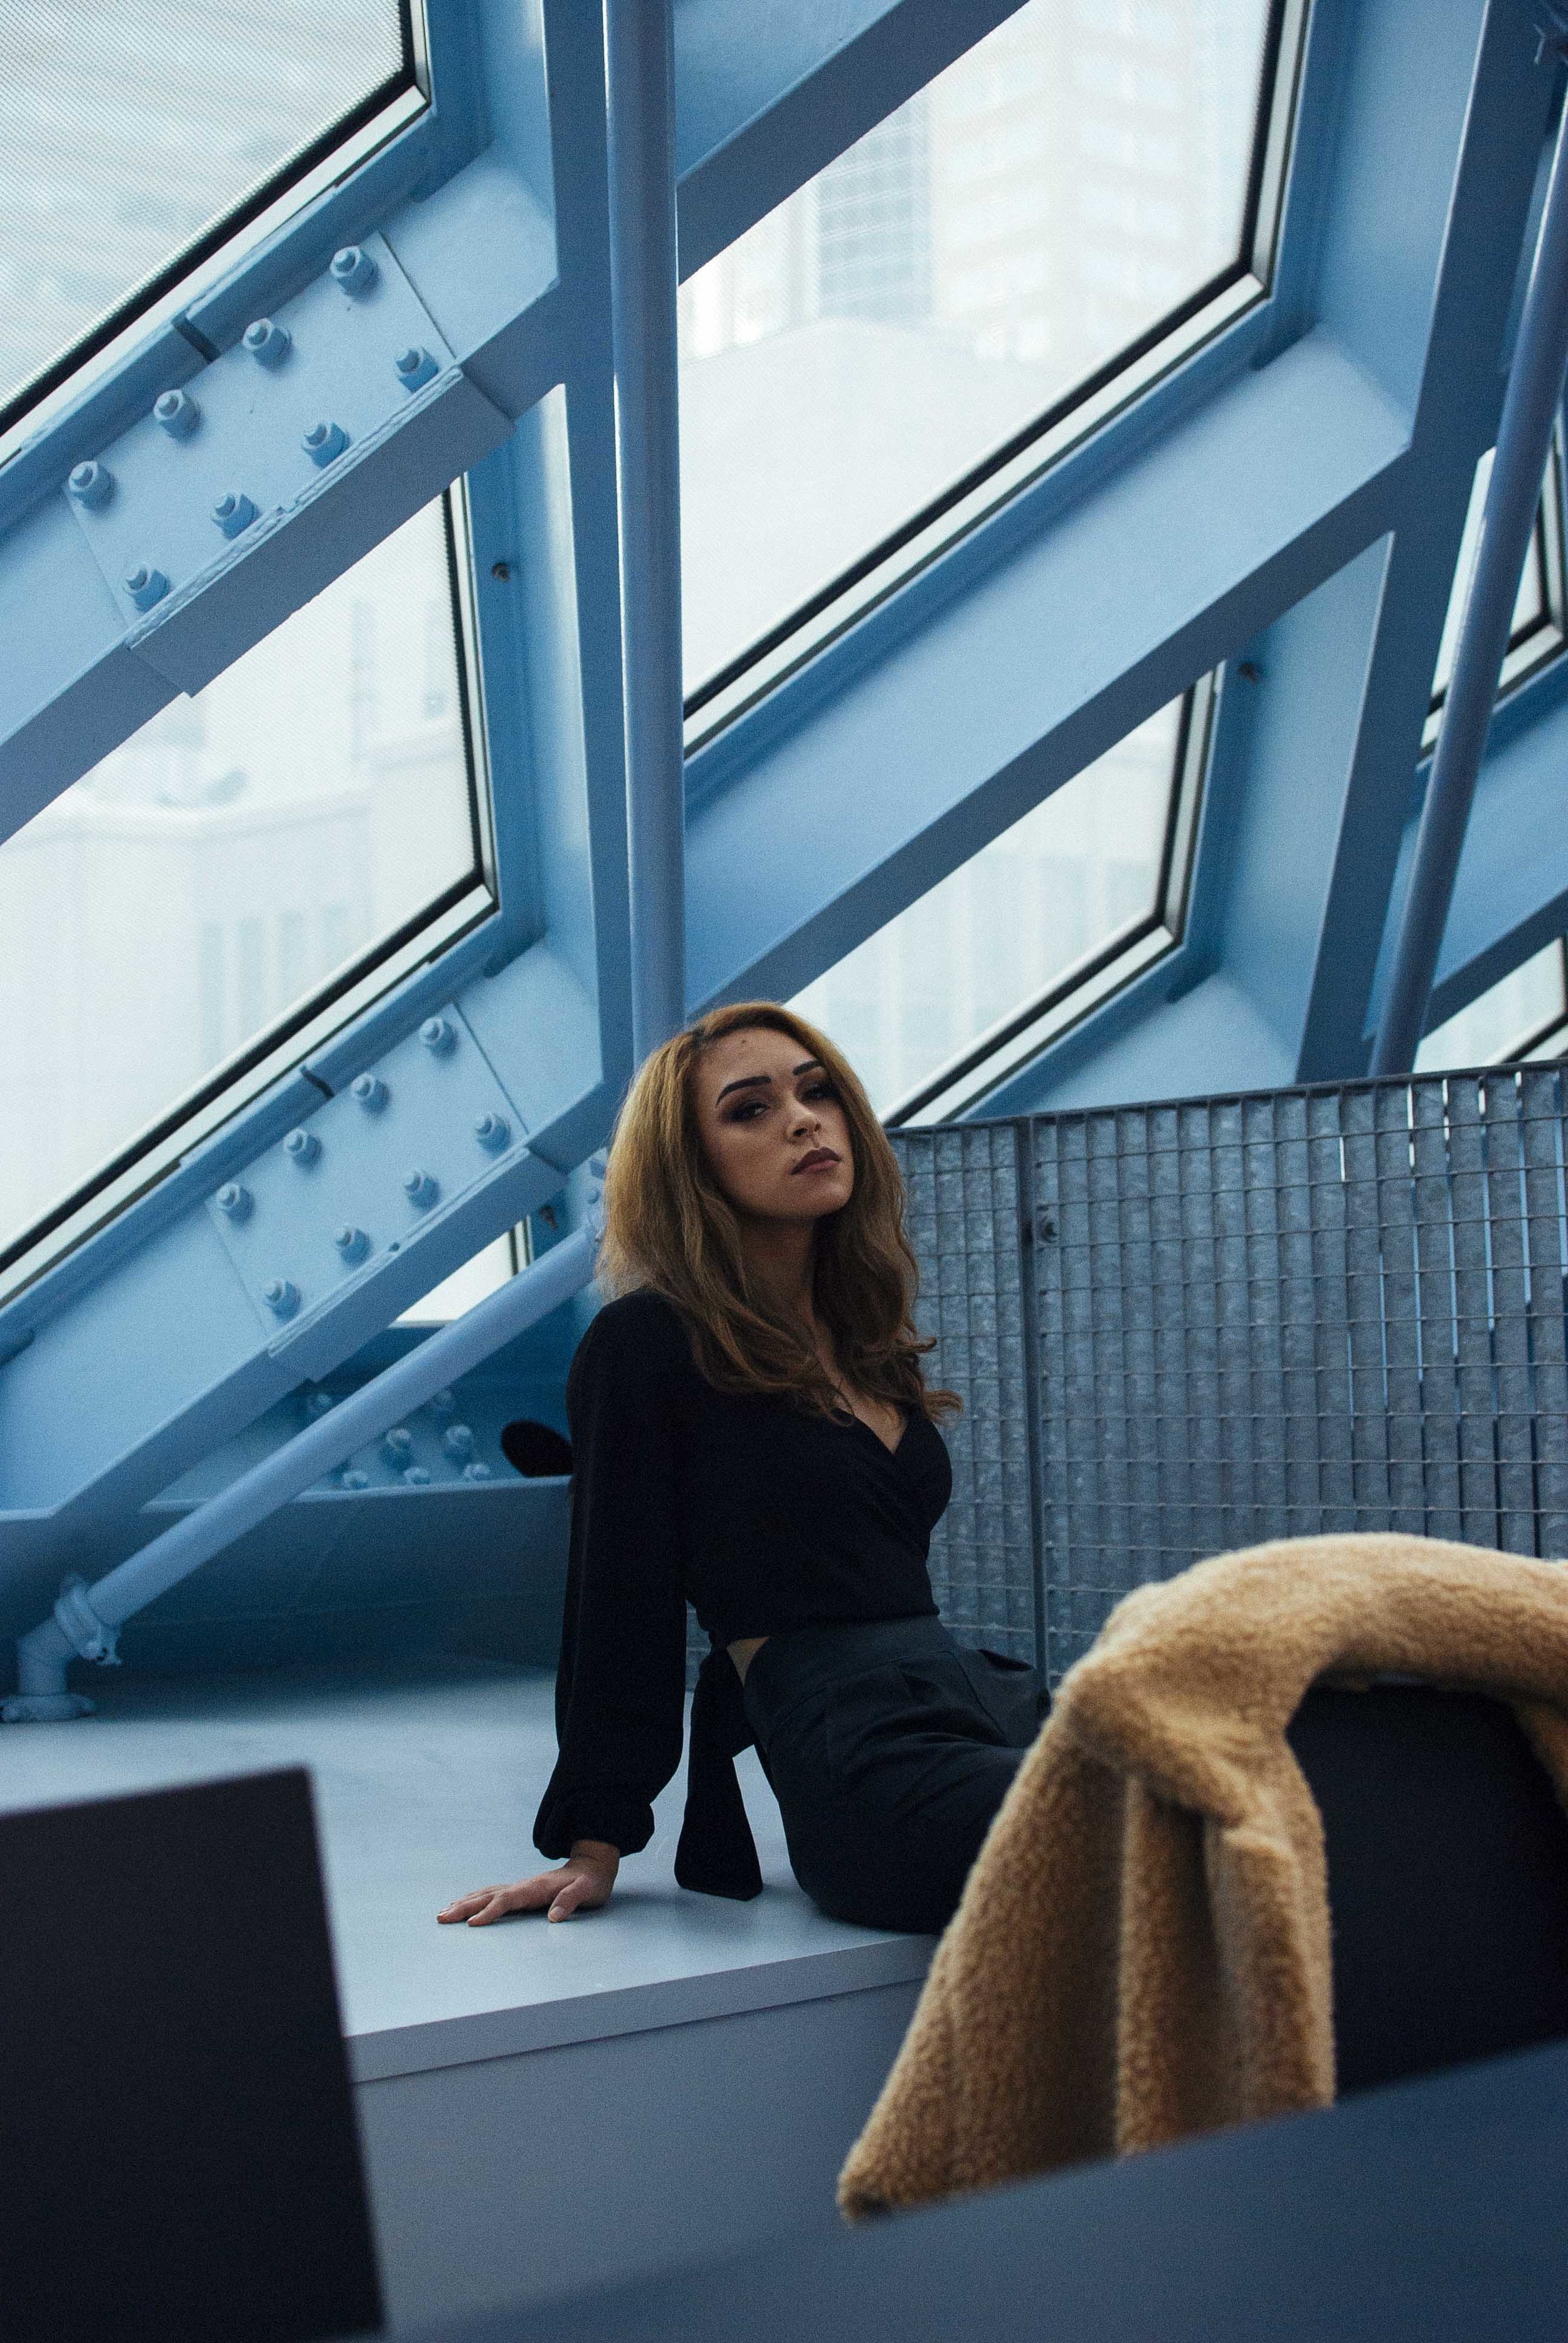
That being said, there may be space usage restrictions that you don't know about, even after reading the Photography Policy. If you are informed of a space usage policy by a staff member, apologize and move on. This happens at some point to us all- I, for example, committed a faux pas when, in order to get the shot above, Jasmine and I sat on the low white platforms that surround sections of the tenth floor. We were unaware that the Library asks for people not to sit or stand on those sections, but once we were made aware of the policy, we stopped what we were doing and moved on to explore other areas of the building.
Tip 6: Consider Using Visually Distortive Shooting Tools/Methods
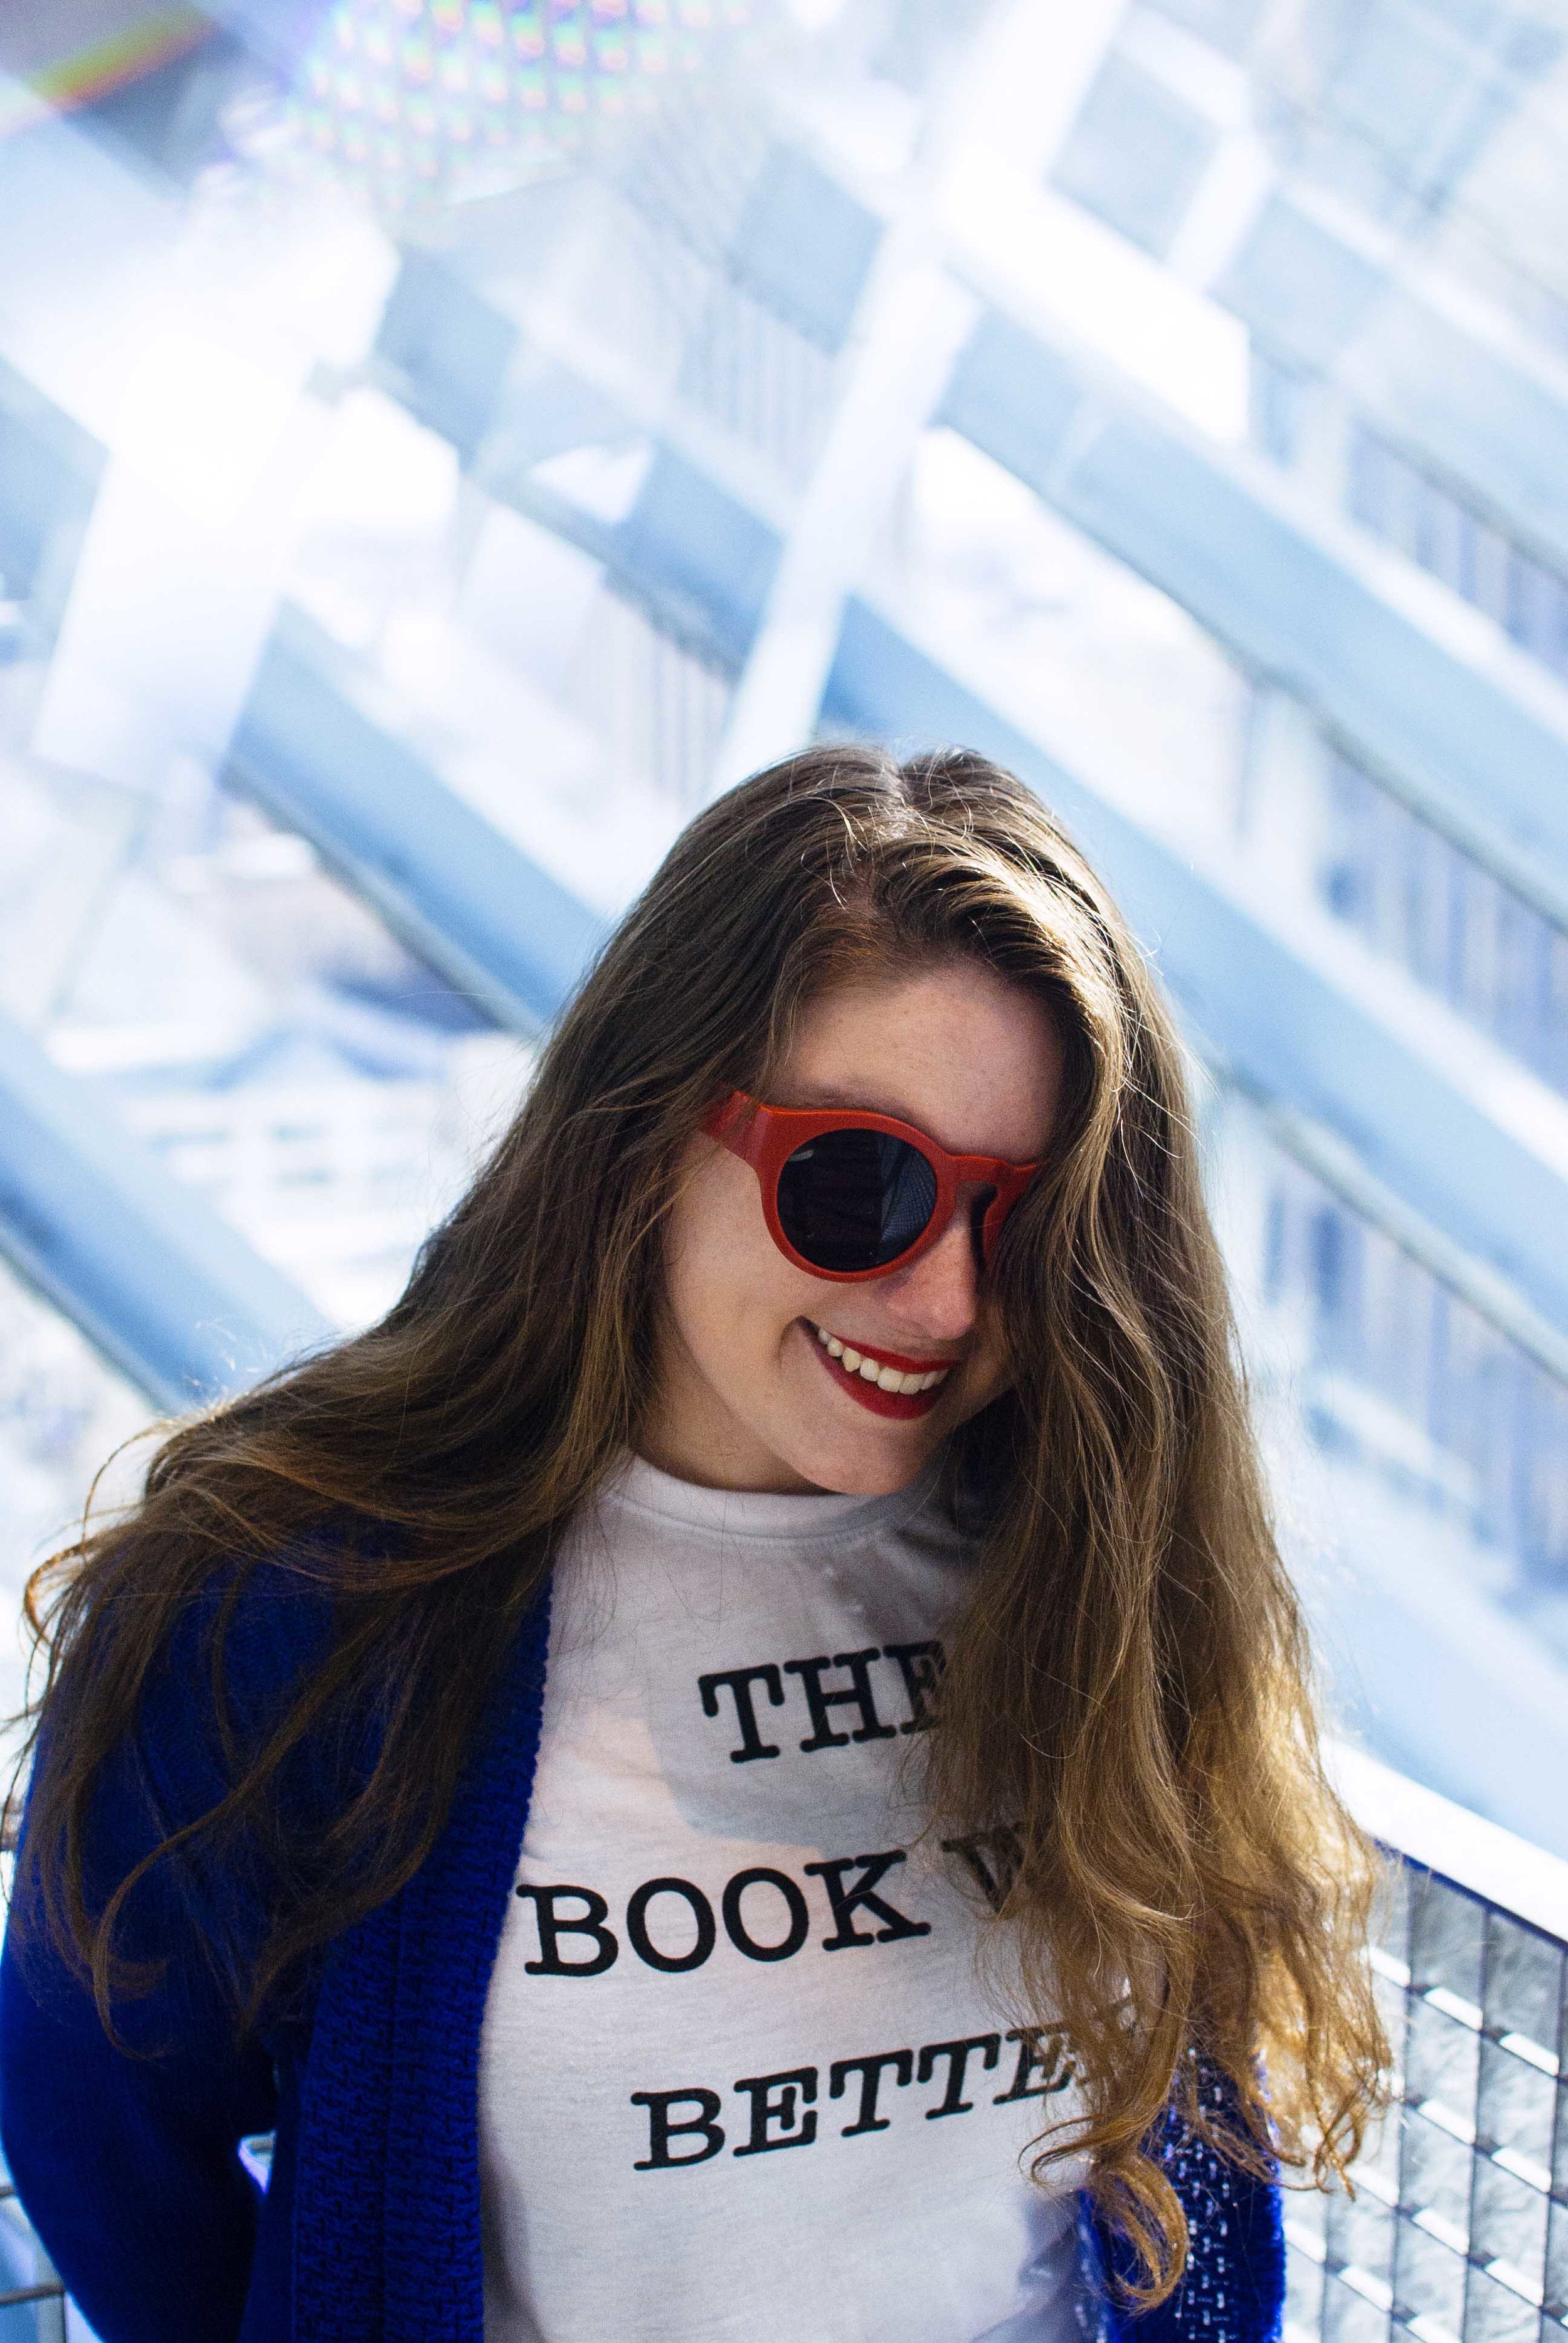
The geometric structural design of the library creates clean lines in photos. These straight lines mean that using wide lenses, prisms, or other visual distortion shooting techniques can disrupt viewer expectations and create unique perspectives. Lydia graciously allowed me to borrow her prism, and I immediately was captivated by the way you could bend the light and space to create dynamic shots. Unfortunately, I don't have a fish-eye lens, but Anthony Ngu posted a beautiful example of how his Superfish Moment lens distorted the lines of the building in order to create a sense of movement in an otherwise static shot. Check it out on his Instagram here.
There you go! Six quick tips for shooting in the Seattle Public Library! Think I missed something vital? Let me know in the comments or shoot me an email via my contact page.
-AK
